Overview
Elai's voice cloning feature lets you add your own voice to your voice library so you can use it just like any other voice in Elai. Record a short audio sample, submit it to the Elai team, and your voice will be available in 75+ languages once processed.
Keep in mind that a cloned voice will not be a 100% match to your original voice, but it will closely reflect your tone, pace, and style as captured in your recording.
For the best result, pair your cloned voice with your own custom avatar. You can request a custom avatar here. To learn about the standard voices already available in Elai, see Learn About Elai Voice Library.
To create a voice clone, you record a short audio sample following Elai's recording guidelines and submit it to the Elai team. The clone is typically ready within 1-3 business days. Once it is processed, your cloned voice will appear in your voice library and be available to use in the editor.
Prerequisites
Trial or Creator plan: Voice cloning is available as a paid add-on.
Annual Team plan: 1 Voice clone is included in your plan.
Enterprise plan: 3 Voice clones are included in your plan.
Verified account. See How to Verify Your Elai Account for more detailed steps
Request a Voice Clone
There are three ways to initiate a voice cloning request in Elai:
From the left sidebar: Click Assets to expand the section, then click Clone voice.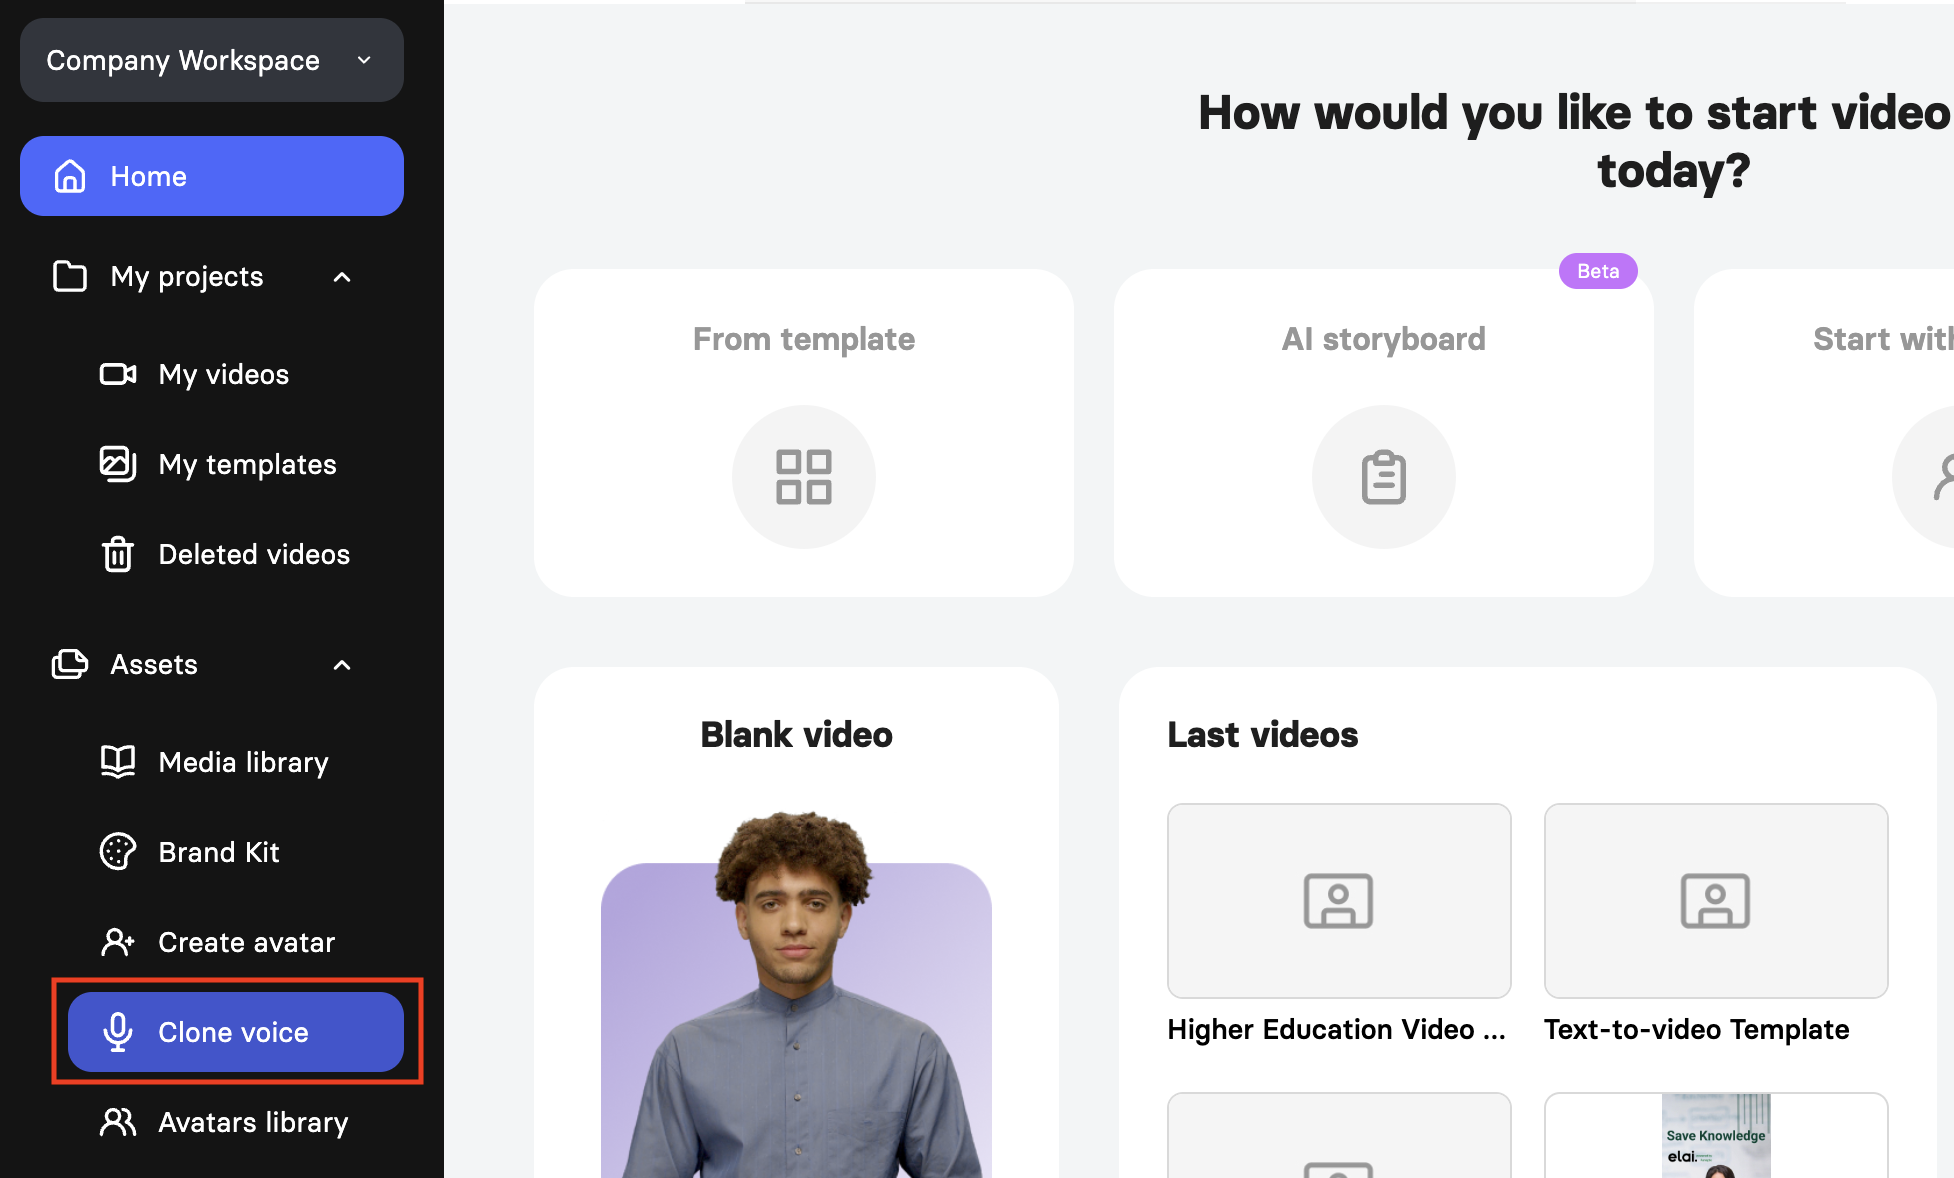
From the voice library: Open your voice library. If you do not yet have a cloned voice, a Create a custom voice button will be available there to start the process.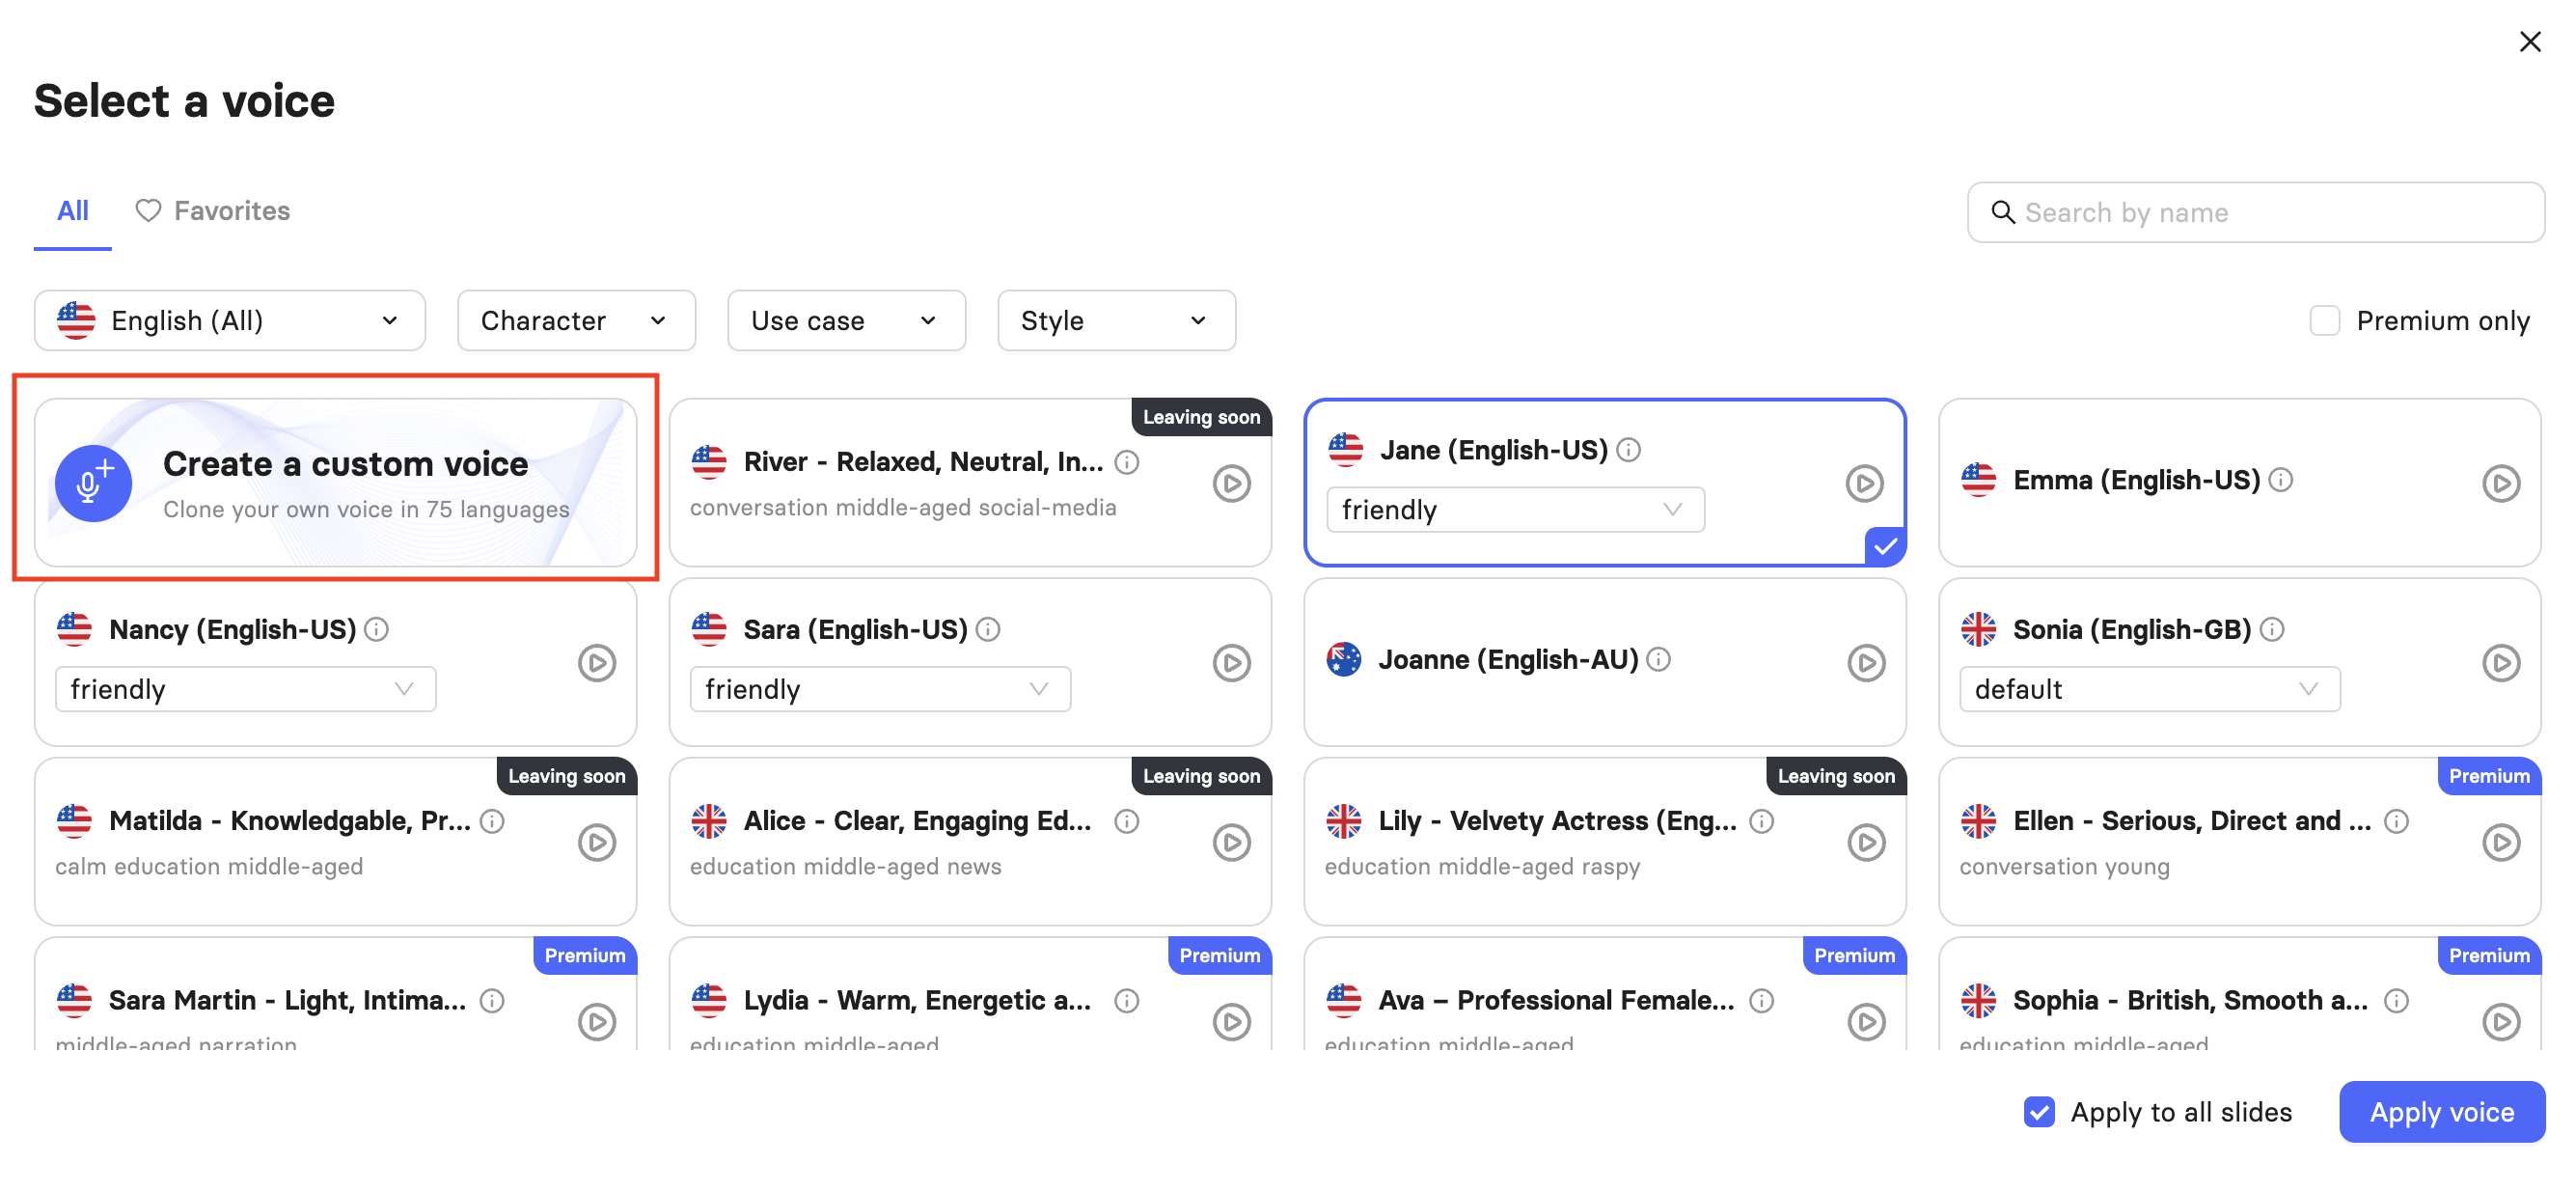
From Organization management (for org admins only): Open Manage organization and go to the Voices tab. Click the Clone voice button in the upper right corner.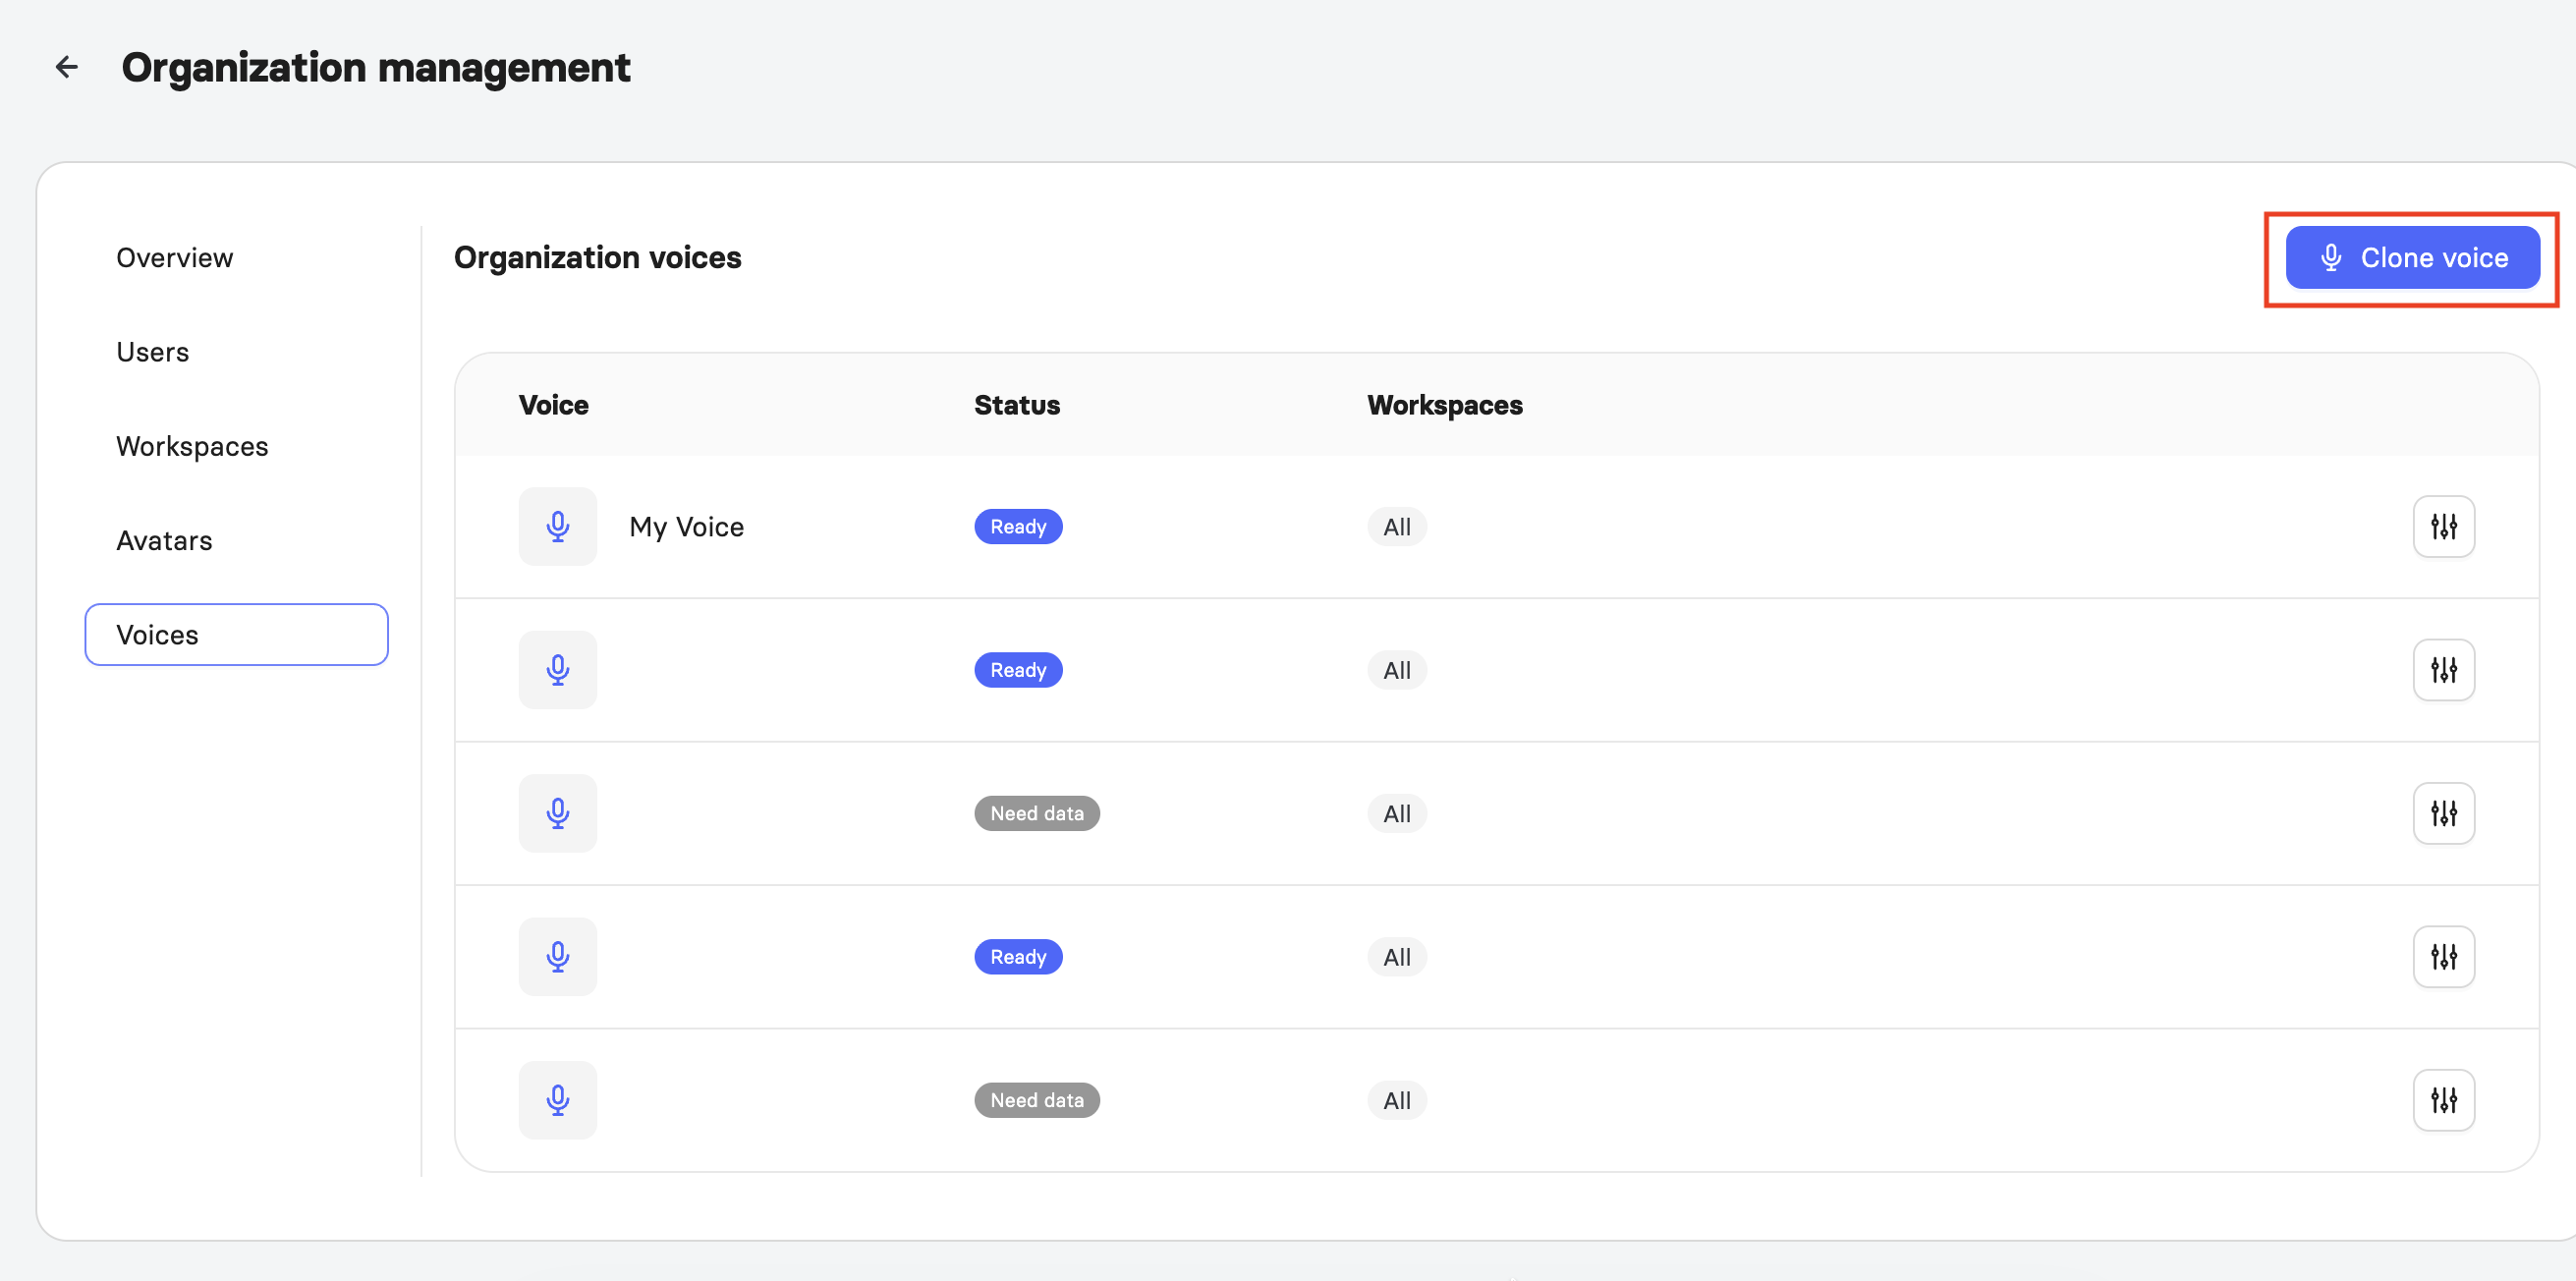
Whichever path you use, follow the on-screen instructions to submit your request. Before recording, review the audio requirements below. The quality of your voice clone depends entirely on the quality of your recording.
Prepare Your Recording
Recording Environment
Record in a small, quiet room with soft, sound-absorbing surfaces such as curtains, a rug, or a blanket over the desk. Close the windows and turn off the air conditioner, fans, and phone notifications. The room must be completely free of background noise and echo.
Equipment
Use a dedicated microphone, such as a condenser model (e.g., Audio-Technica AT2020, Rode NT1-A) or a dynamic model (e.g., Shure MV7, Shure SM58). For simpler setups, a USB microphone (e.g., Blue Yeti, Rode NT-USB, Samson Meteor) is acceptable. A pop filter is strongly recommended. Do not use a phone, webcam, or headset microphone.
Record in WAV format, mono. This format preserves the highest audio quality. Do not apply any post-processing to the file; leave all audio processing to the Elai team.
Duration and Delivery
Aim for approximately 5-10 minutes of recorded material. Record in the language you plan to use most often. For the most natural-sounding result, record with expressive, emotional delivery rather than a flat or monotone read. The AI clones what it hears, so a more engaged recording produces a more natural voice.
Your accent is cloned directly from your recording and cannot be changed after the fact. If you need your cloned voice to speak with a particular accent in a given language, that accent must be present and clearly expressed in your original recording. Once cloned, you can use your voice across different languages, but you cannot select or change the accent for those languages.
Note: The stronger and more consistent the accent in your recording, the more accurately it will be reproduced. If your accent in the recording is subtle, the clone will reflect that.
Recording Steps
Prepare your script in advance.
Sit facing the microphone at a distance of 15-20 cm (about 6-8 inches).
Start recording using a reliable voice-recording application.
Keep your takes clean: avoid mouth clicks, sharp breaths into the mic, and repeated or elongated vowels.
Insert a brief pause approximately every 20 seconds.
When finished, use your name as the file name. For example, JaneDoe.wav
Upload the file to cloud storage (e.g., Google Drive) and send the link to avatars@elai.io, support@elai.io, and your Account Manager.
Note: Make sure the sharing settings on the file are set to allow access via link, since most cloud storage services default to private sharing.
What Happens After Submission
After you submit your recording, the Elai team will review it and produce your voice clone within 1-3 business days. A support team representative responsible for the delivery of your voice clone will reach out to you once it is ready. Your cloned voice will appear in your voice library and be available to select just like any other voice in the editor.
If you want to adjust the tempo, accent, or other characteristics of your voice after the clone is created, you will need to re-record and resubmit your audio. When voice characteristics are being adjusted, the Elai team will provide several output options for your review. Once you select one, the remaining options will be deleted.
If you have any questions about your submission, contact the Elai avatar creation team at avatars@elai.io or reach out to your Account Manager.
If you need to fine-tune how your cloned voice pronounces specific words or phrases in the Elai video editor, see How to Adjust Pronunciation with Phoneme Dictionary and SSML.
Manage Cloned Voices Across Workspaces
On the Enterprise plan, organization admins can manage cloned voices and control which workspaces they are available in from Organization Settings.
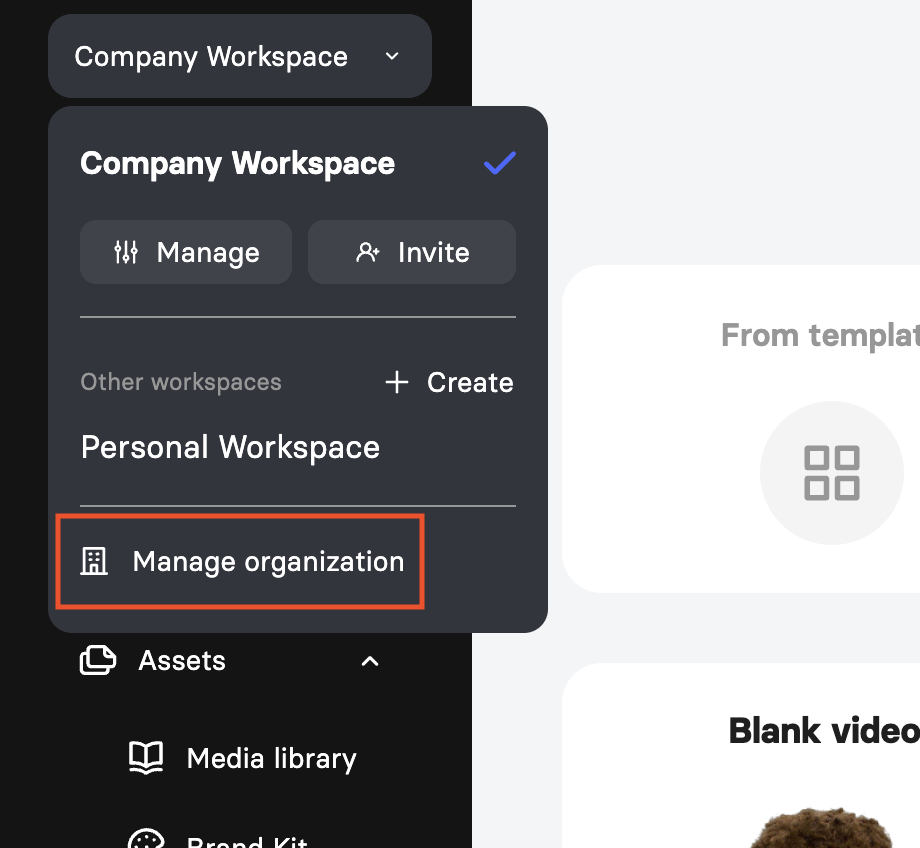
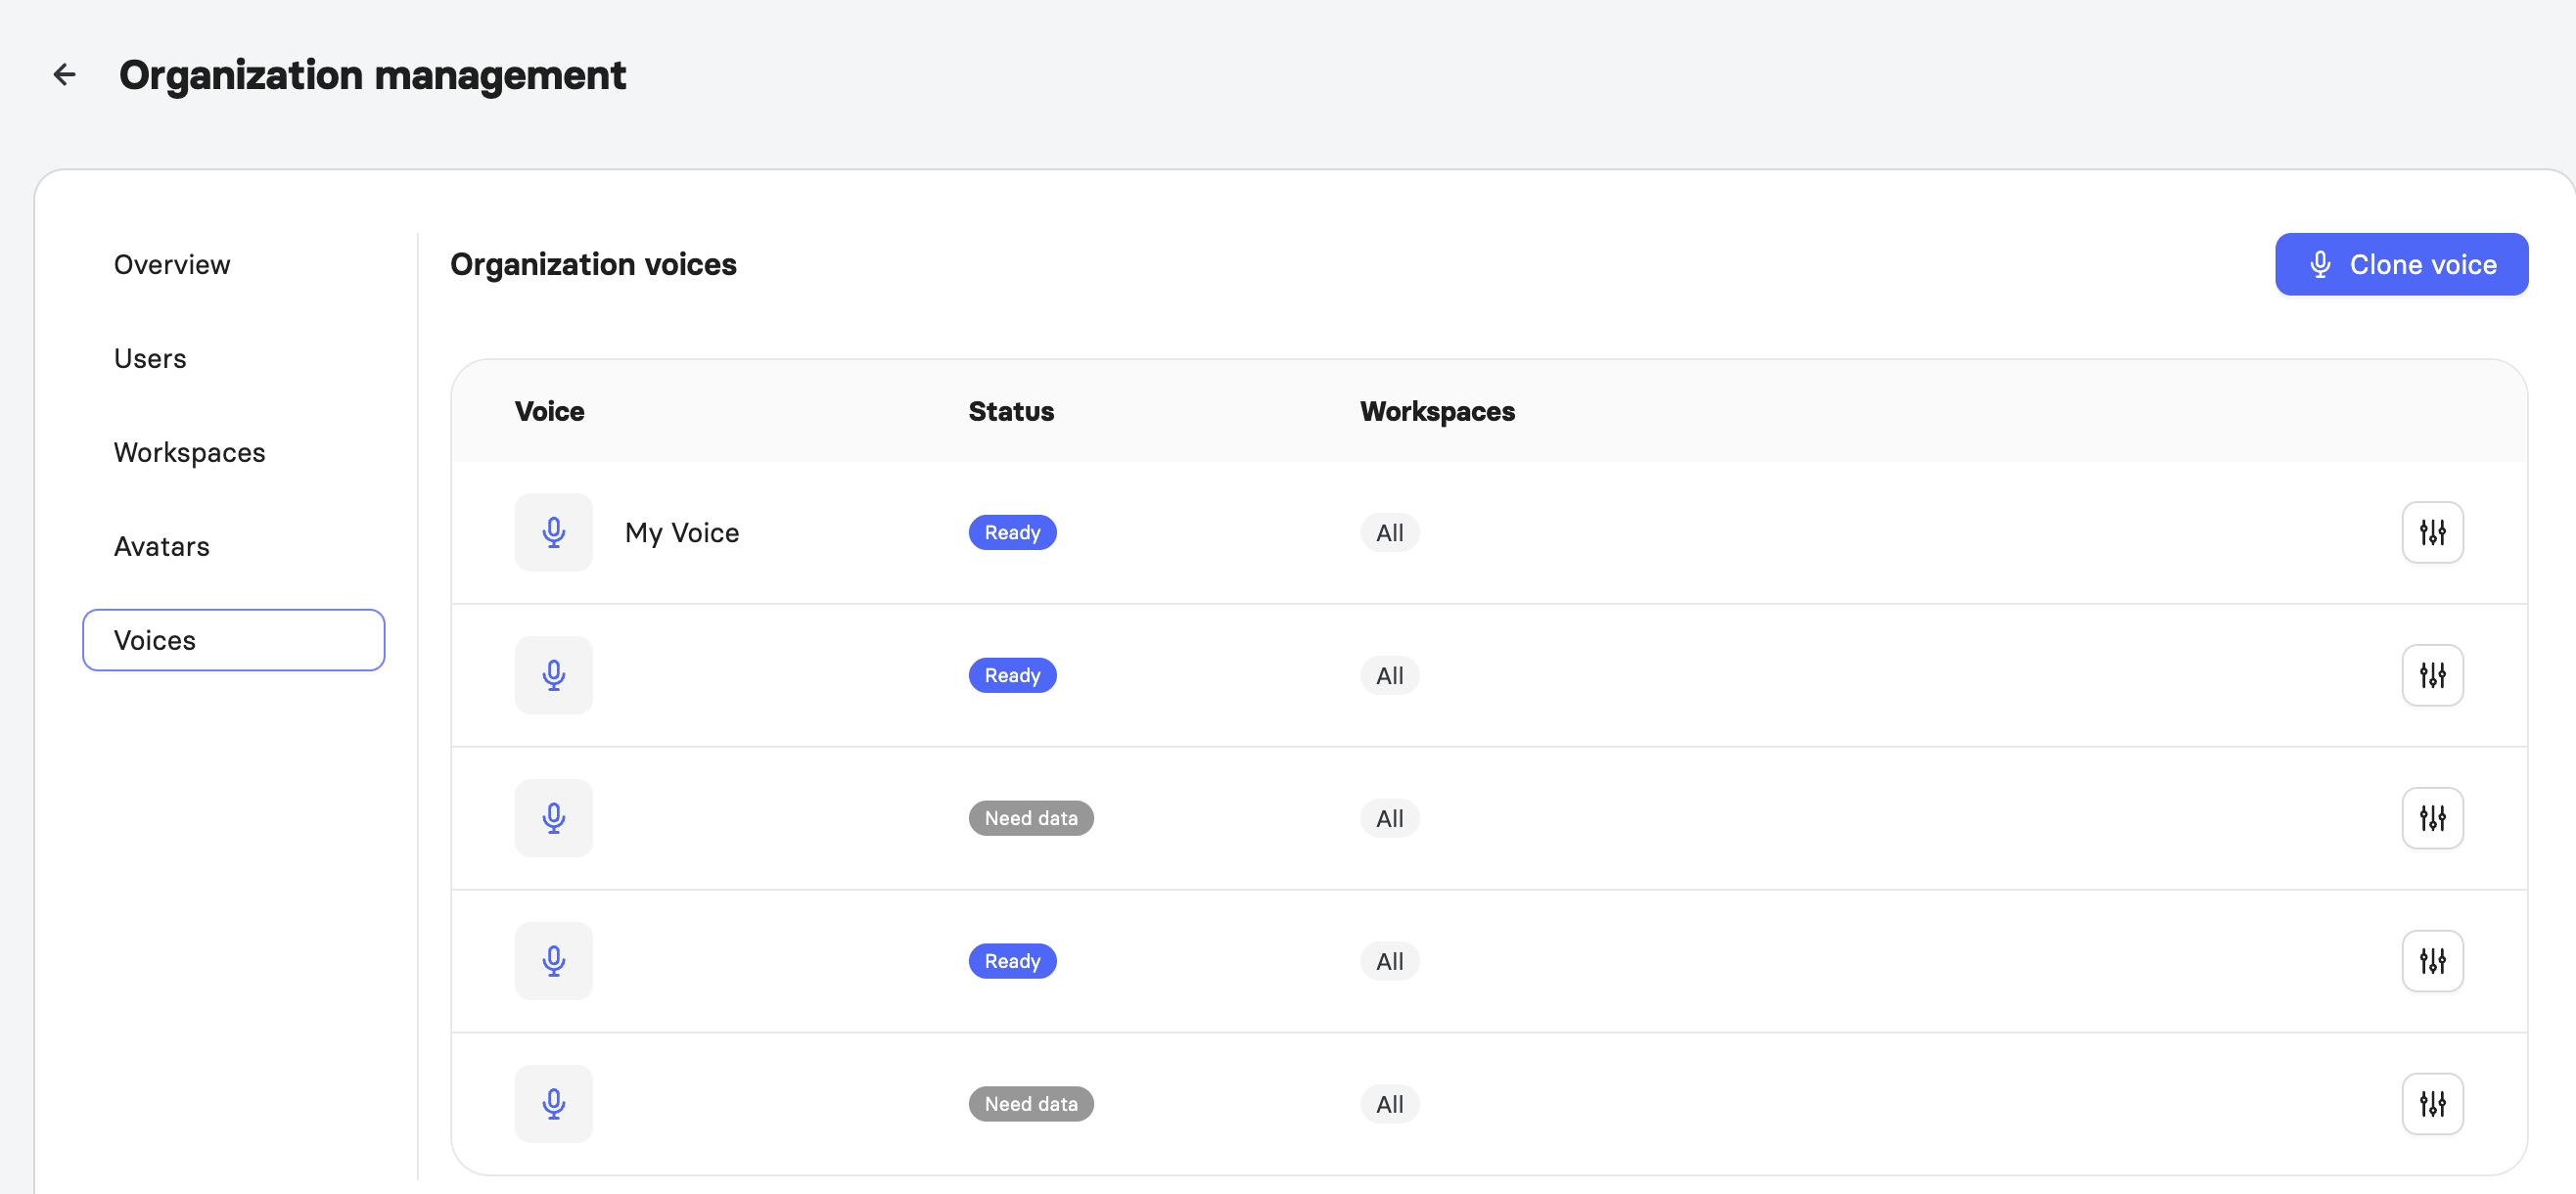
Open Organization Settings by choosing Manage organization and navigate to the Voices tab.
The Organization voices table lists all cloned voices along with their Status and the Workspaces they are assigned to.
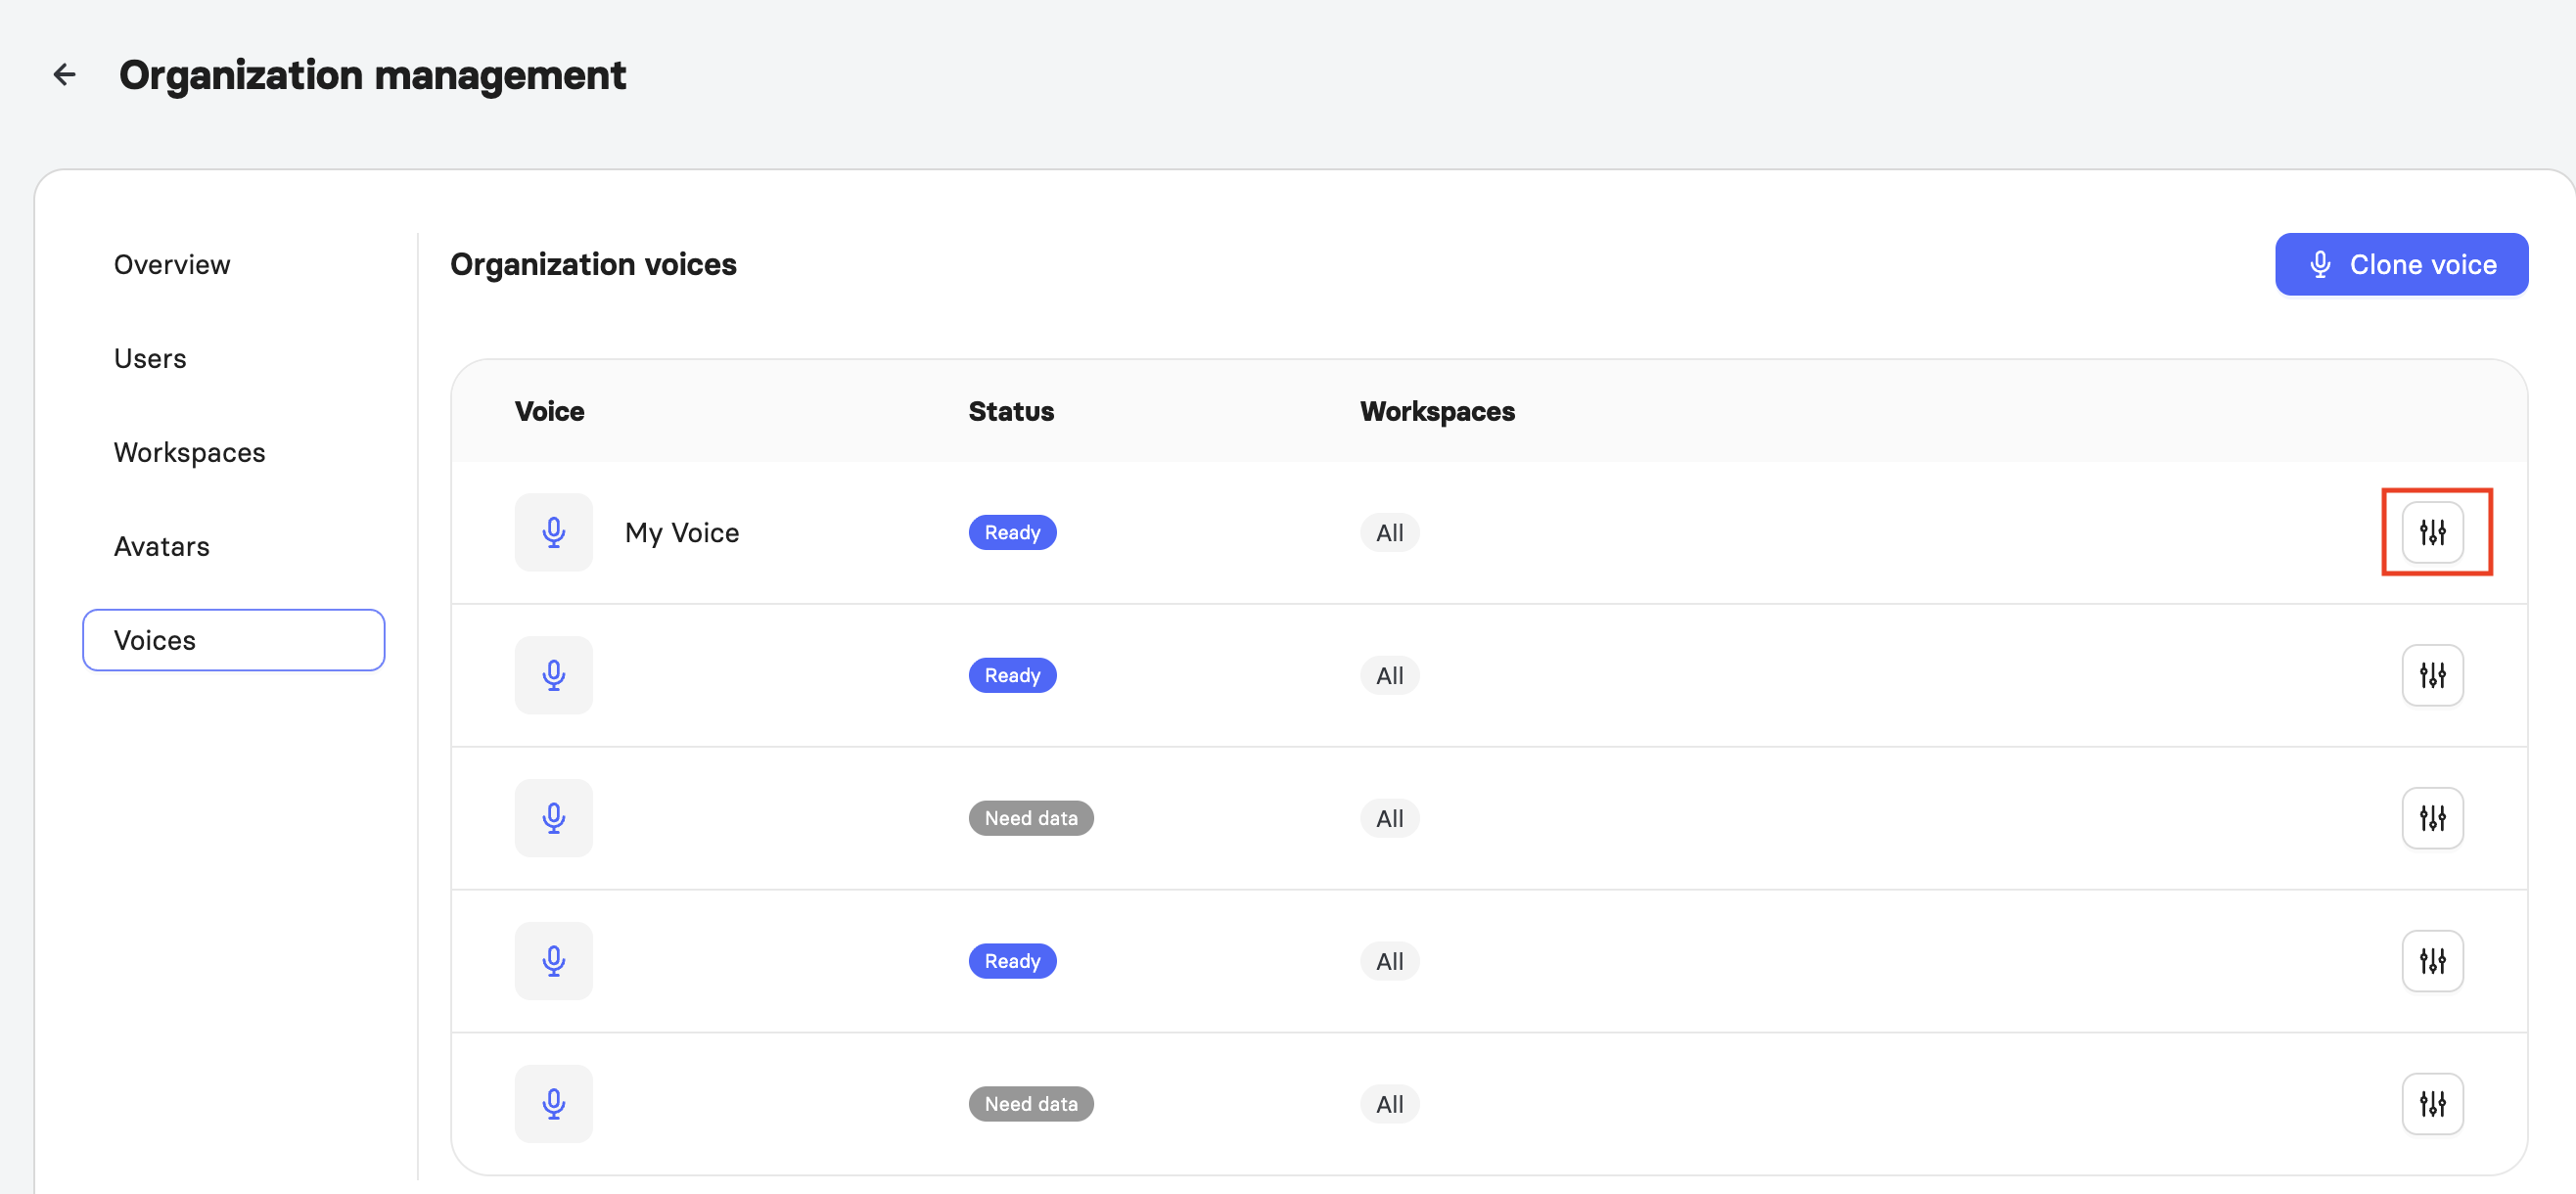
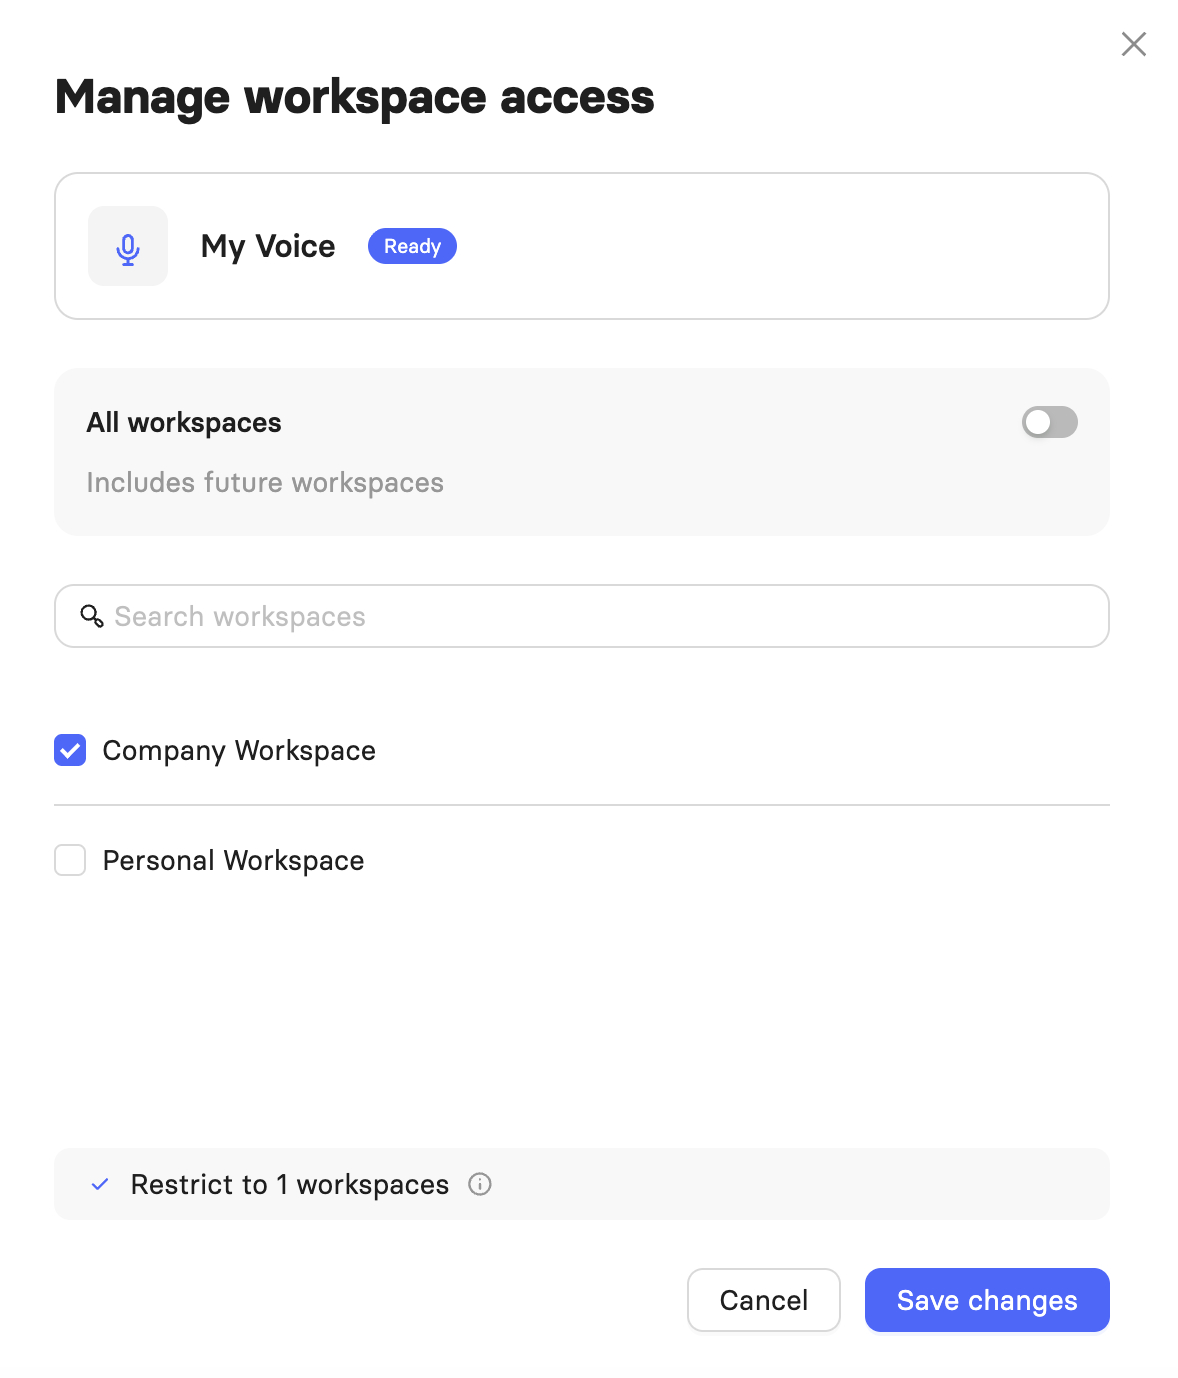
To manage workspace access for a voice, click the settings icon next to it. The Manage workspace access panel will open.
Use the All workspaces toggle to control access. When the toggle is on, the voice is available in all current and future workspaces. To restrict it to specific workspaces, turn the toggle off and check only the workspaces you want from the list.
Note: A voice clone with a Need data status has not yet received sufficient audio to be processed. If you see this status, follow up with the Elai team.
For more on managing your organization in Elai, see Learn About Organization Settings.
Was this article helpful?
That’s Great!
Thank you for your feedback
Sorry! We couldn't be helpful
Thank you for your feedback
Feedback sent
We appreciate your effort and will try to fix the article